![]()

 |
DOWNLOAD Version 19.00 US Funds |
|
Buy All 3 Volumes of ZBrush 4 for LightWave Users for only $45 US Funds -(Save $12) |
|
|
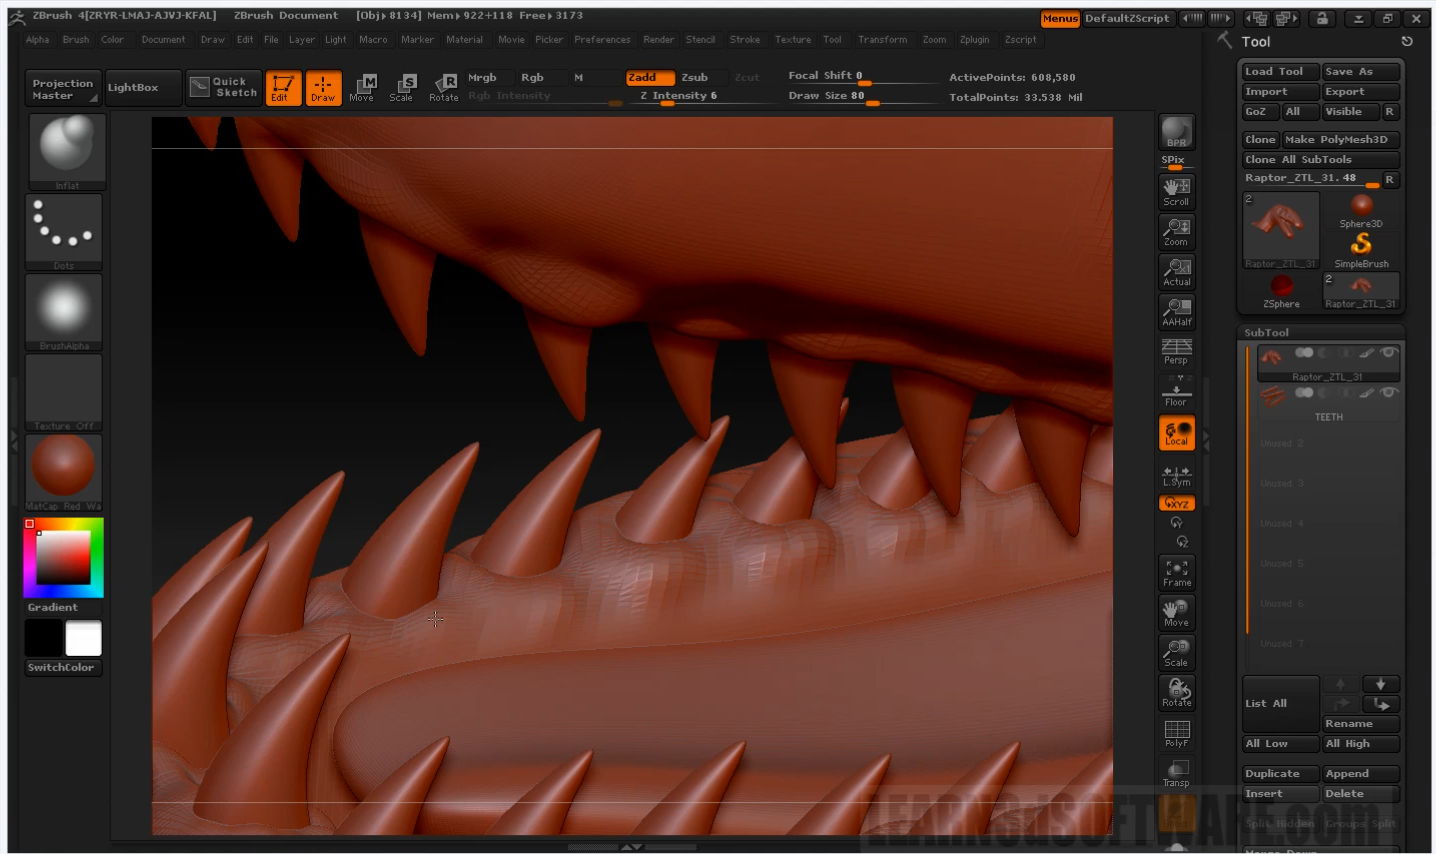
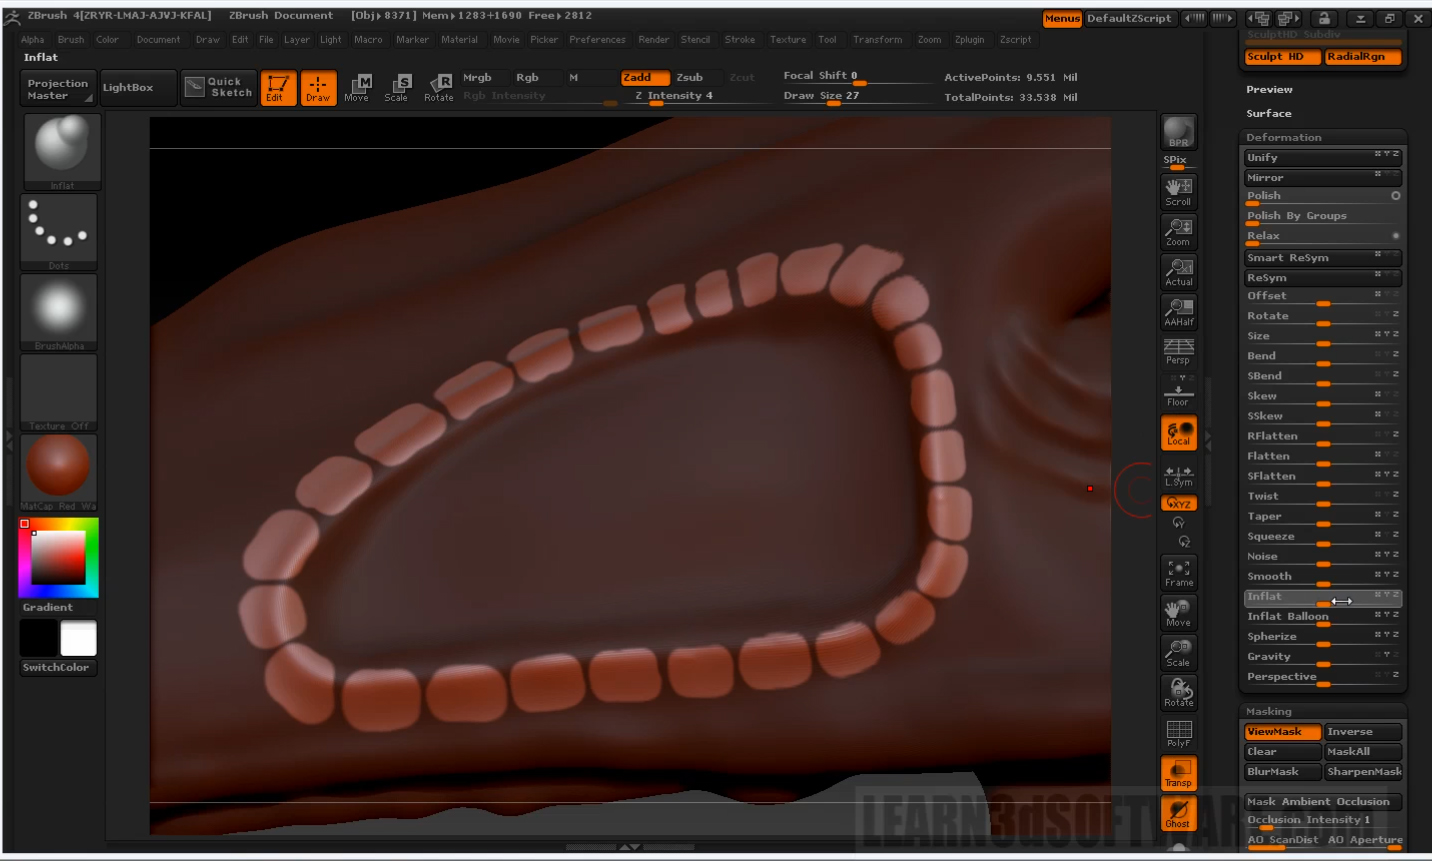
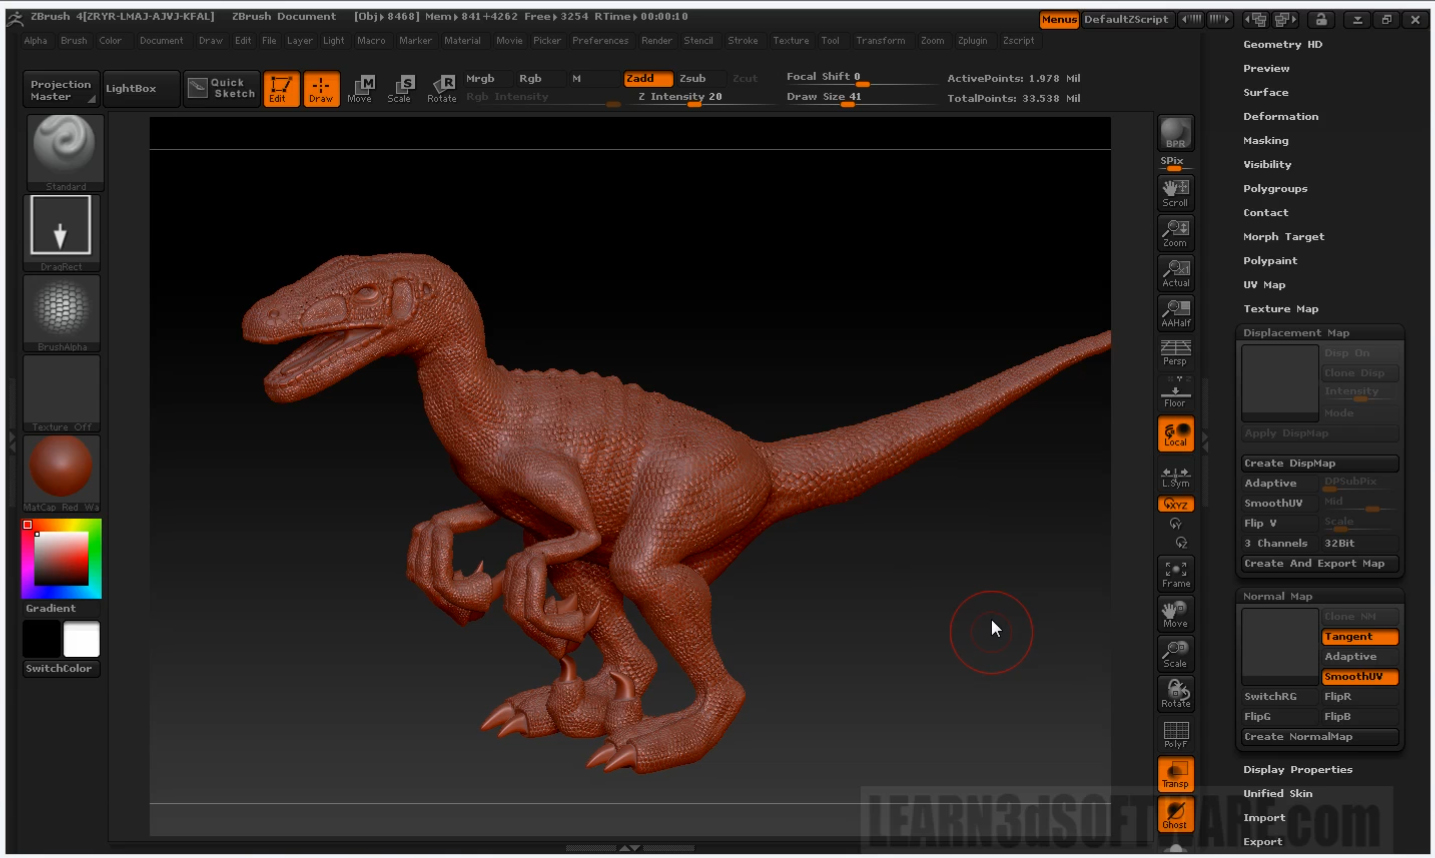
ZBrush 4 for LightWave Users-Normal Maps In this videos series we show 3D students how to use ZBrush 4 and LightWave 3D together as an easy and functional workflow and pipeline in your 3D projects. Although this video series uses LightWave 3D as the final output for your ZBrush work, most of the concepts, principles and techniques used here will work with all the most popular 3D programs like 3D Max, Maya, Softimage, Modo, Cinema 4D and many others. In this video tutorial ZBrush/LightWave Instructor Adam Gibson shows how to use ZBrush to create high detail sculpting on a Velociraptor dinosaur that is exported as a Normal Map for use inside of LightWave 3D.
Table of Contents for Normal Maps Chapter 1- Intro Chapter 2- Sculpting the Gums Part One Chapter 3- Sculpting the Gums Part Two Chapter 4- Sculpting the Gums Part Three Chapter 5- Defining Lip Area Chapter 6- Creating Scales in Hi Def Mode Part One Chapter 7- Creating Scales in Hi Def Mode Part Two Chapter 8- Creating Scales Using the Global Inflate Tool Chapter 9- Creating Lip Scales Chapter 10- Creating Scales Using the Drag Rectangle Tool Chapter 11- Correcting and Blending Scales Chapter 12- Creating Bumpy Skin Areas on the Head Chapter 13- Creating Scales on the Feet Chapter 14- Creating Scales on the Hands Chapter 15- Creating and Exporting a Normal Map in ZBrush Chapter 16- Exporting an OBJ in ZBrush Chapter 17- Importing and OBJ into LightWave Chapter 18- Setting Up Normal Map Node In Layout Chapter 19- Problem Solving and Test Renders
Running Time: 2 hrs. 49 mins. High Quality (Screen-Res 1440 x 900 pixels) Quicktime Video Level: Beginner to Intermediate
|